Deluxe Paint Gradient Fills
So I watched Mark Ferrari's entire GDC talk "8 Bit & '8 Bitish' Graphics-Outside the Box". It's a fantastic talk by one of the greatest pixel artists alive today. He talks about a lot of his work, and spends a section of the video going into some details about his techniques.
I tried to follow along as best I could in his tutorial sections using Grafx2. Unfortunately, there are a few things that Deluxe Paint and/or Pro Motion can do that Grafx2 still can't. One of those things I'd really like to use is Deluxe Paint's gradient fill modes.
So I've been trying to dissect the way Deluxe Paint does its shape-conforming gradient fills, and seeing if I can implement them myself in Grafx2. (Grafx2 also a has an existing feature request that mentions this functionality: Add more flexible gradients)
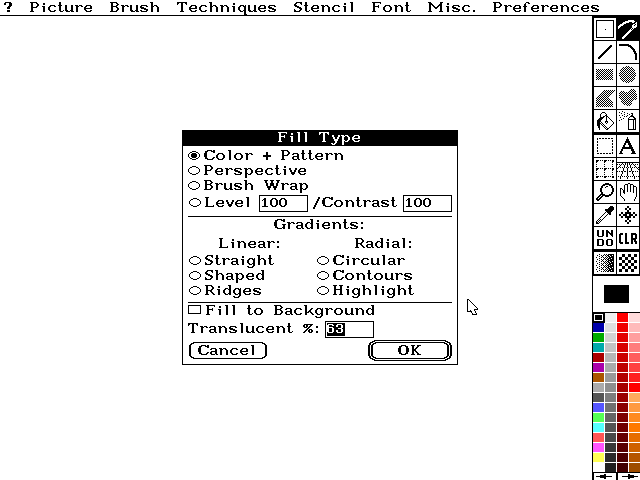
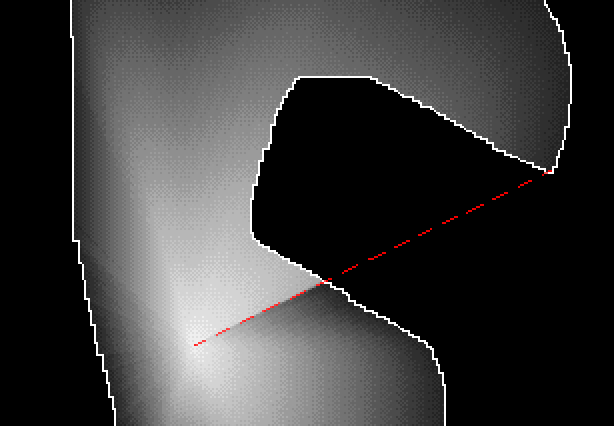
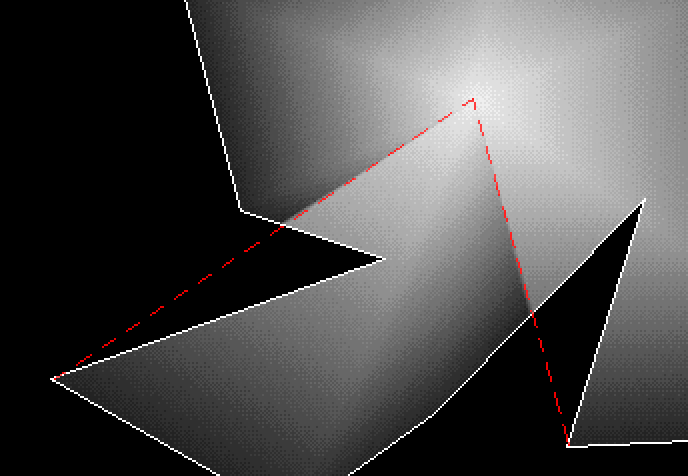
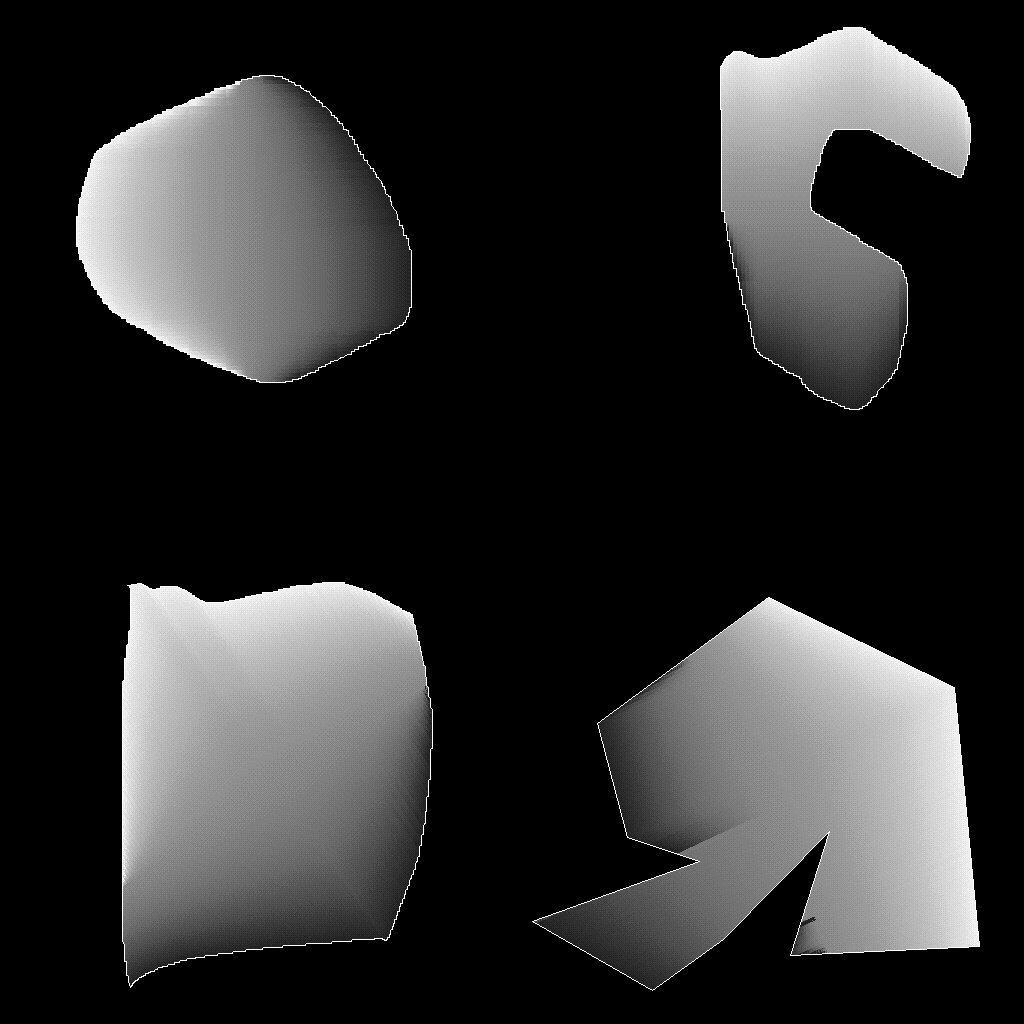
Here's what I'm up against:
Findings
"Contour" fill
- A centerpoint is selected by the user.
- For every point to be filled:
- Find a the point along the edge that's the furthest away from the center point, where the point to be filled lies in between it and the center point.
- Where A is a vector for the the centerpoint,
B is the edge point, and C is the point
to be filled.
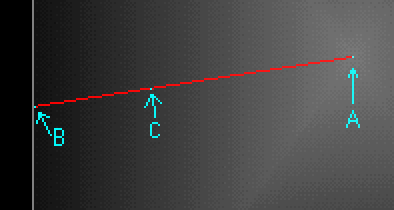
- The point along the gradient to use, t, is in the range of 0 through 1, and calculated as... t = ||C - A|| / ||B - A||
- This is just an inverse-lerp. We want to see how far along the line between A and B we are, and that determines where along the gradient we are.
The key here to replicating some of DP's odd behavior is that it's always using the most distant edge. This is why DP's fills look a little weird when the fill wraps around curves (where it has multiple edges to choose from along some lines coming from the center.
From our top-right example, we can see how this breaks down. The gradient is being done based on the most distant edge, so it's affected by the hook shape.
And the bottom-right example. We can clearly see where it's preferring far edges to interpolate to.
"Highlight" fill
I believe this is identical to "Countour", but with a different mapping to the actual gradient. t may be affected by a curve, similar to a gamma curve. So I'm not going to cover this one here.
"Ridges" fill
- For every pixel...
- find the nearest edges on the left and right (straight left/right).
- Do the inverse lerp described in the "Contour" fill. A is the nearest left edge, B is the nearest right edge, and C is the point being filled.
- This one also looks weird when it goes around corners.
"Linear" fill
This is a pretty basic linear gradient fill. Grafx2 already supports this, so it's only here for completeness.
- Pick a center point (A) and an offset (B).
- For every point to be filled:
- Project that point onto the vector A - B, to make point C.
- Do an inverted lerp with A, B, and C as above.
"Circular" fill
This is a basic radial gradient. Grafx2 already does this, too, so we won't get into it.
"Shape" fill
This one is like the "contour" fill, except that it uses a line instead of a single centerpoint. We'll do the same math as before, but with an extra projection. Rather than a single mid-point, as used in the "contour" mode, we need to use an entire line.
It'll work exactly the same as the contour gradient, except that we need to find the closest point along a given center line, and use that as the A vector in the equation.
Results
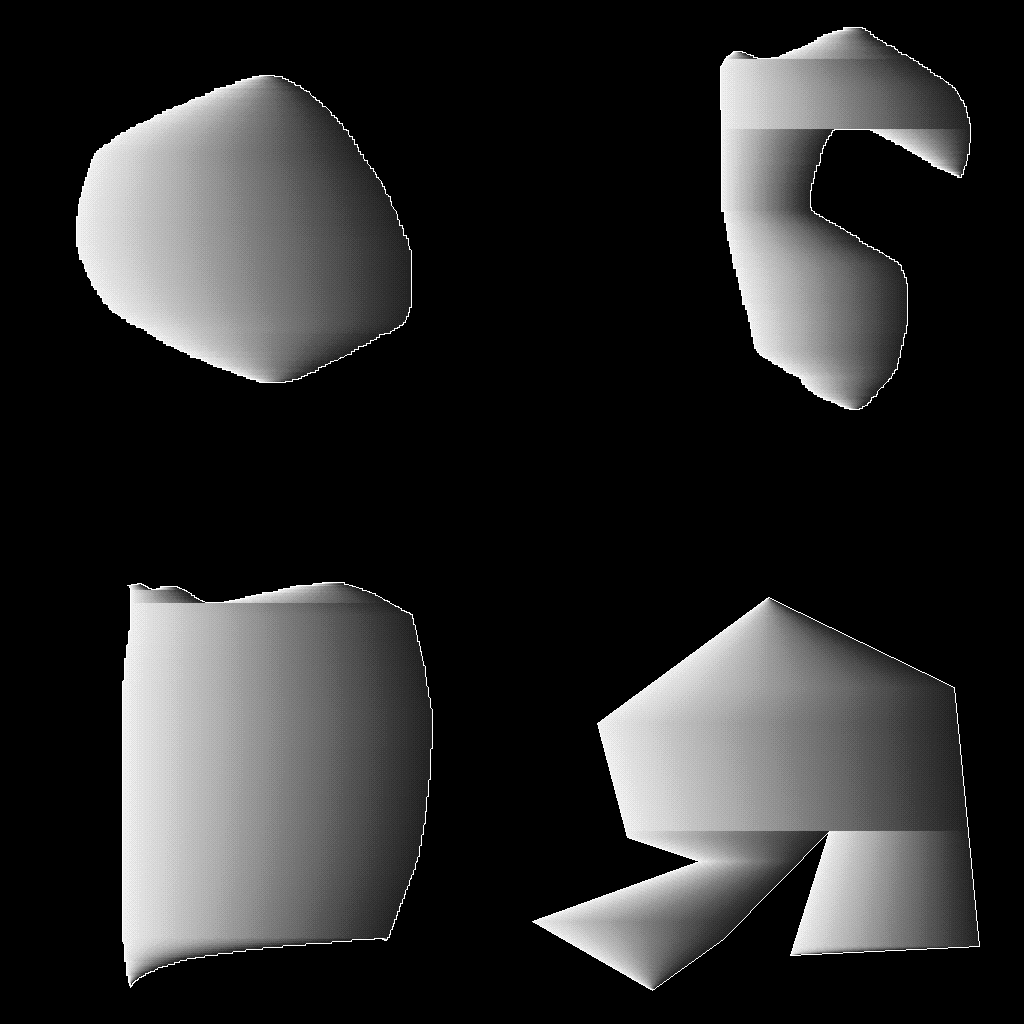
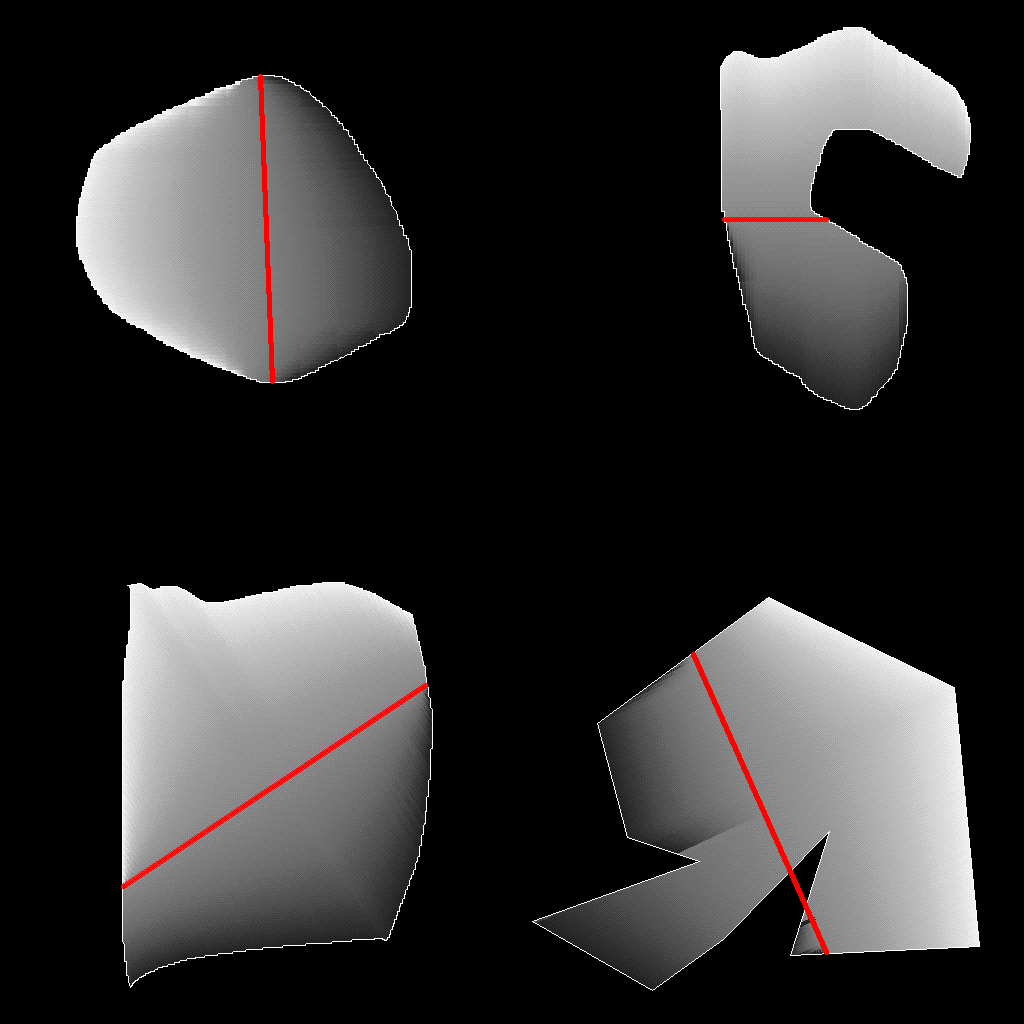
So far I've only worked on figuring out the "contour" fill mode. My results are looking pretty promising, though! Here's what my prototype spits out with the same image input (slightly different points selected as centers):
It doesn't match the DP results exactly, but that's more a matter of correctly mapping the gradient to color values than anything to do with the technique.
Next update will probably focus on the "shaped" mode and optimizations.
